Fabulous Friday Food :: Butternut Squash Soup
/
Is it just me, or did Thanksgiving creep up behind us, tap us on the shoulder, and surprise the heck out of us? I felt bowled over on Monday when Julia told me this was her last week of school before Thanksgiving.
What?!
Of course, Thanksgiving is easy to miss since Christmas decorations have already been up since before Halloween. Again, is it just me? Or is this just WAY TOO EARLY?!
I hate to roll my eyes at Christmas--it's not Christmas's fault--but Thanksgiving is pretty special in my book. So, if it's all the same to you, I'm going to relish this last week before all the crazy. I'm going to plan my Thanksgiving menu and linger over time with my family this week. I'm going to eat every single traditional food in my repertoire and binge on carbs.
And for one more week (hopefully more), I'm going to focus on what I'm thankful for without the loud music and shiny decorations and irritated shoppers getting in my way.
See, this is why I love Thanksgiving. It's quiet. It's reflective. It's delicious (!). It's family time.
Minus all the hoopla.
So let's talk about the Thanksgiving meal. I usually do all the traditional foods--turkey, stuffing (my mom's recipe with sage, apples, and raisins), mashed potatoes and gravy, sweet potato casserole, cranberries, pumpkin AND pecan pies . . . and anything else I feel like making.
This year there will be something new on our table. It's a little recipe I've been working on this fall, and I think I've finally gotten it where I want it.
(A little back story. A couple of months ago B and I went into the city to see a play, and we had dinner at a little Italian place near the theater. That night I had the most delicious butternut squash soup that made me so happy, and I realized that I could probably go home and replicate it. I read a bunch of recipes--who knew there were so many ways to make one kind of soup?--and put together the elements that I liked best to come up with this. So that's my inspiration for this recipe.)
So here we go with Butternut Squash Soup for your (and my!) Thanksgiving meal.

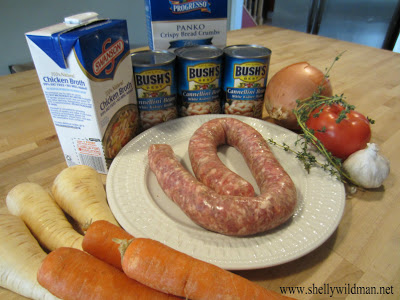
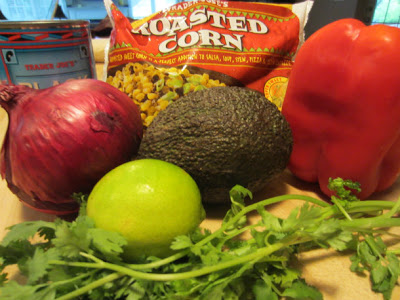
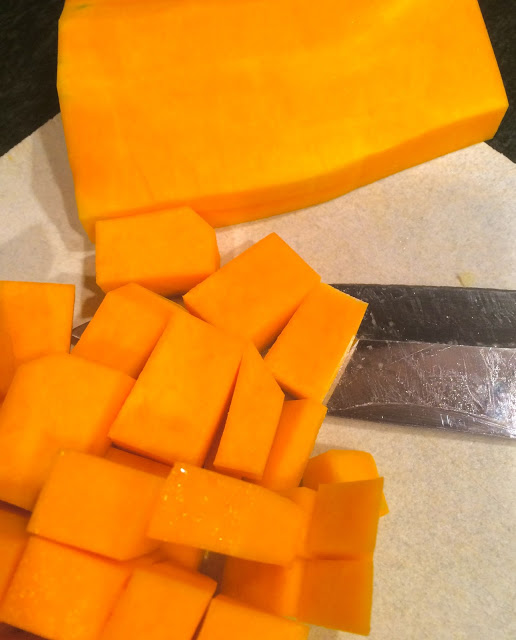
Start with a good sized butternut squash. (If you get the pre-cubed squash from the grocery store, buy two packages because you'll need a lot.) Cut it into cubes and set aside.
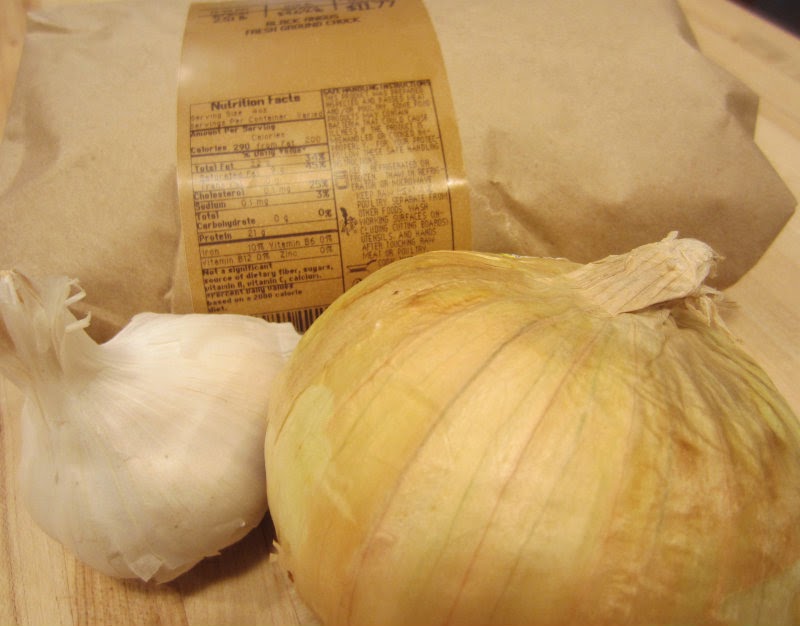
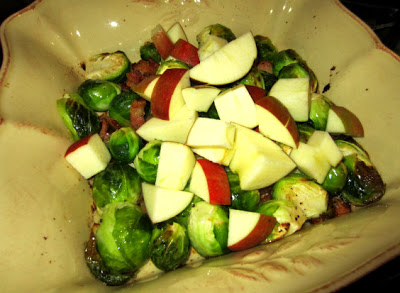
Now chop an onion and an apple. That's right--an apple. Any old apple will do, as long as you take the skin off first.
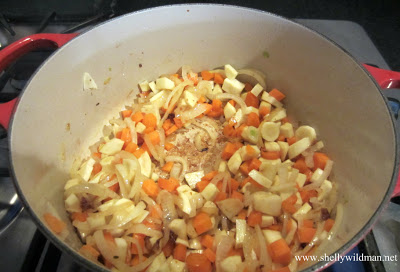
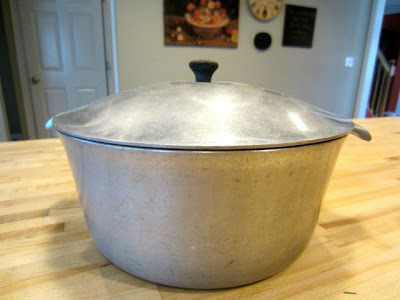
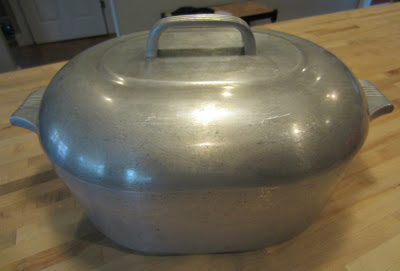
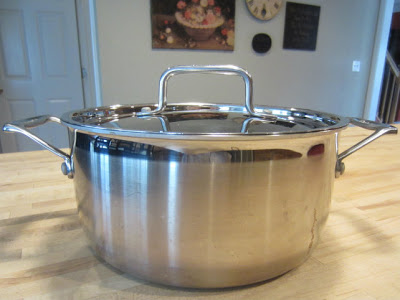
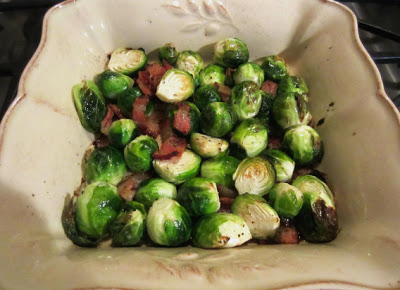
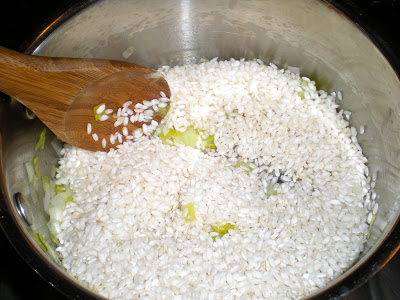
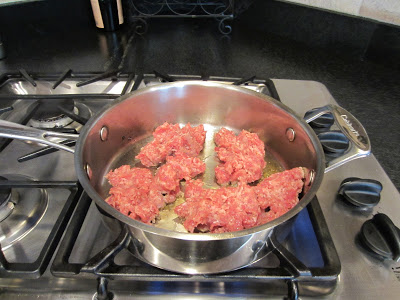
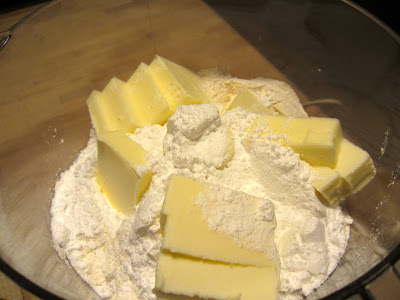
Melt three tablespoons of butter (you could substitute olive oil if you want) in the bottom of a dutch oven, then add the squash, onion, and apple.
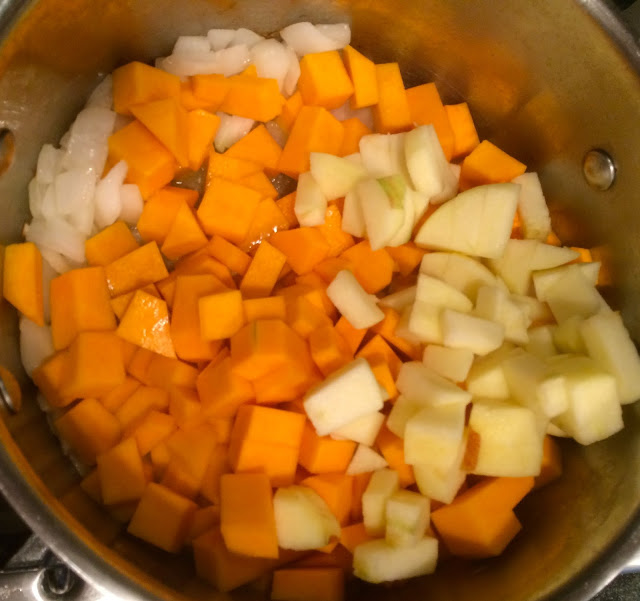
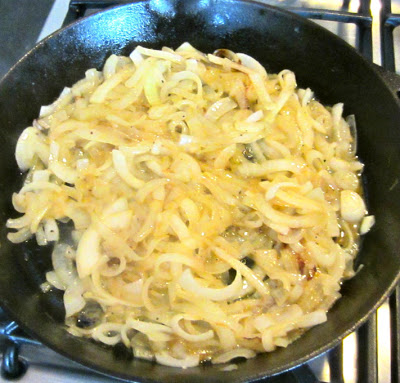
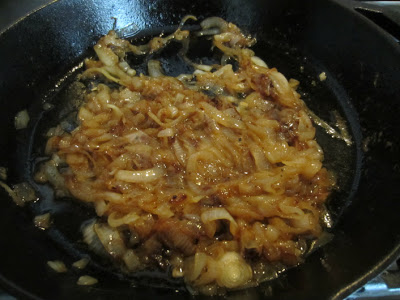
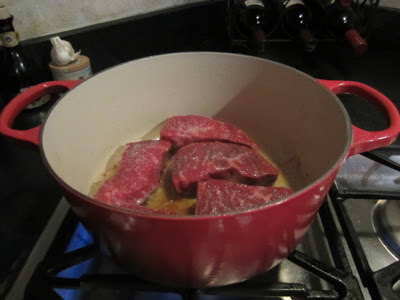
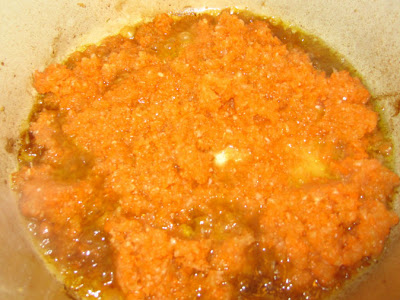
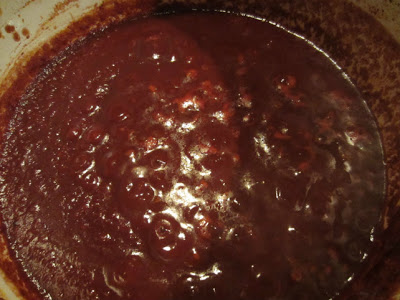
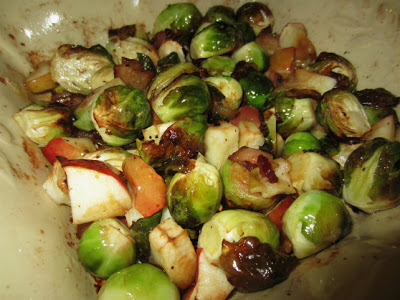
Spend about 10 minutes caramelizing the vegetables. (I KNOW an apple is a fruit. It's just easier to say one thing instead of two).
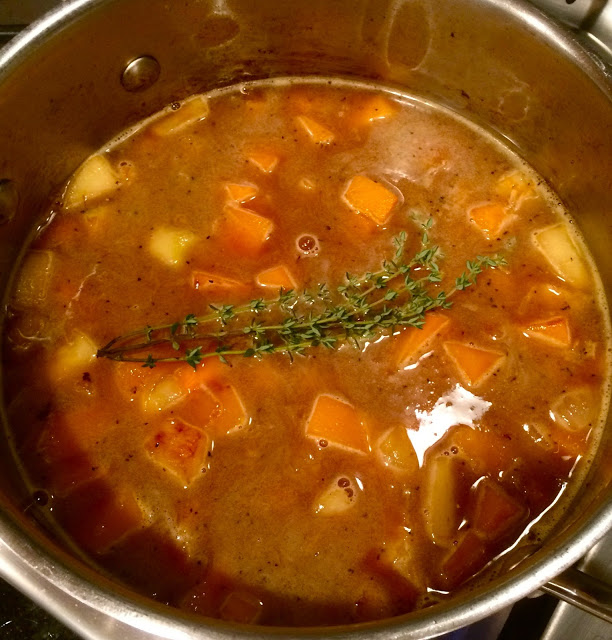
Once you have a nice, golden brown color on everything, pour 3-4 cups of chicken broth over, just until you reach the top of the mixture. (Don't go any higher or your soup will be runny. Trust me on this one. You can add more broth later if you think you need it.) Throw in a couple sprigs of thyme.
Bring to a boil, then reduce heat to a simmer. Allow the vegetables to simmer in the broth for 30-45 minutes until the squash is very tender.
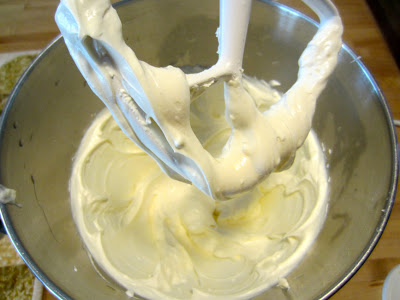
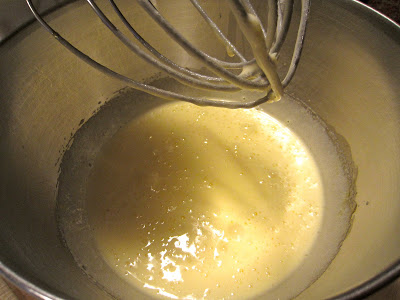
When all the veggies are cooked, turn off the heat and get out your handy-dandy immersion blender that your sweet daughter gave you for Christmas last year (I love this tool!). You could also use a regular blender, but it's a little messier process. Anyway, blend everything together until it's very smooth.
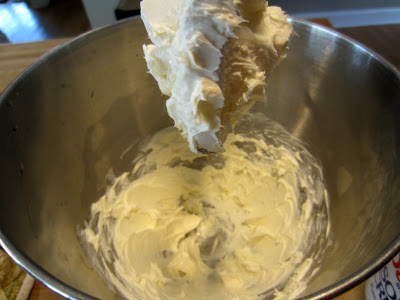
Now add the nutmeg, paprika, salt and pepper, cream, and butter. Mmmmmm.
Stir over low heat for another few minutes and you're done!

I like to sprinkle a few toasted pumpkin seeds over the top, but you could also use some homemade croutons, which would be yummy.
This will be on my Thanksgiving table this year. How about yours?
Leave me a comment and let me know what your favorite part of the Thanksgiving meal is. I'd love to hear from you!
Click here for a printable version of this recipe.
****
Like what you see here? Why not sign up for regular updates to your email box? You can sign up right over there -->. You can follow me on Facebook, Twitter, and Instagram, too.
Also, check out my Recipes page for lots more family-friendly, easy to make meal ideas. Enjoy!
What?!
Of course, Thanksgiving is easy to miss since Christmas decorations have already been up since before Halloween. Again, is it just me? Or is this just WAY TOO EARLY?!
I hate to roll my eyes at Christmas--it's not Christmas's fault--but Thanksgiving is pretty special in my book. So, if it's all the same to you, I'm going to relish this last week before all the crazy. I'm going to plan my Thanksgiving menu and linger over time with my family this week. I'm going to eat every single traditional food in my repertoire and binge on carbs.
And for one more week (hopefully more), I'm going to focus on what I'm thankful for without the loud music and shiny decorations and irritated shoppers getting in my way.
See, this is why I love Thanksgiving. It's quiet. It's reflective. It's delicious (!). It's family time.
Minus all the hoopla.
So let's talk about the Thanksgiving meal. I usually do all the traditional foods--turkey, stuffing (my mom's recipe with sage, apples, and raisins), mashed potatoes and gravy, sweet potato casserole, cranberries, pumpkin AND pecan pies . . . and anything else I feel like making.
This year there will be something new on our table. It's a little recipe I've been working on this fall, and I think I've finally gotten it where I want it.
(A little back story. A couple of months ago B and I went into the city to see a play, and we had dinner at a little Italian place near the theater. That night I had the most delicious butternut squash soup that made me so happy, and I realized that I could probably go home and replicate it. I read a bunch of recipes--who knew there were so many ways to make one kind of soup?--and put together the elements that I liked best to come up with this. So that's my inspiration for this recipe.)
So here we go with Butternut Squash Soup for your (and my!) Thanksgiving meal.
Start with a good sized butternut squash. (If you get the pre-cubed squash from the grocery store, buy two packages because you'll need a lot.) Cut it into cubes and set aside.
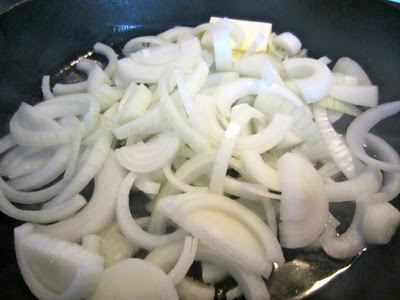
Now chop an onion and an apple. That's right--an apple. Any old apple will do, as long as you take the skin off first.
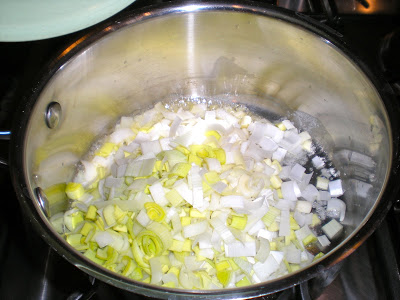
Melt three tablespoons of butter (you could substitute olive oil if you want) in the bottom of a dutch oven, then add the squash, onion, and apple.
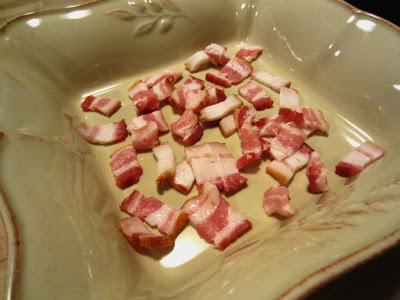
(OK, sorry about the low-quality pictures. I was in a hurry and grabbed my phone. Grrr.)
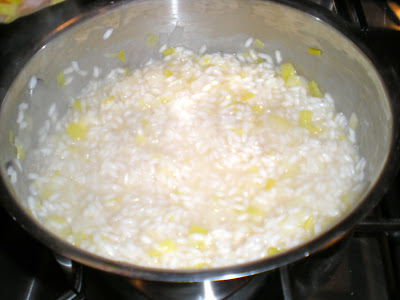
Spend about 10 minutes caramelizing the vegetables. (I KNOW an apple is a fruit. It's just easier to say one thing instead of two).
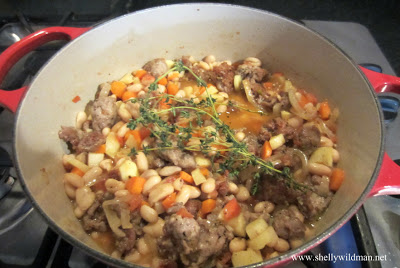
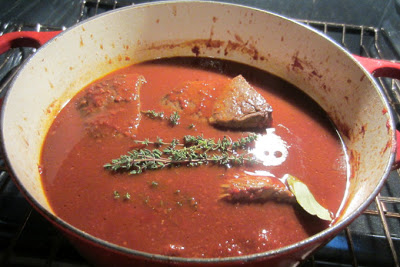
Once you have a nice, golden brown color on everything, pour 3-4 cups of chicken broth over, just until you reach the top of the mixture. (Don't go any higher or your soup will be runny. Trust me on this one. You can add more broth later if you think you need it.) Throw in a couple sprigs of thyme.
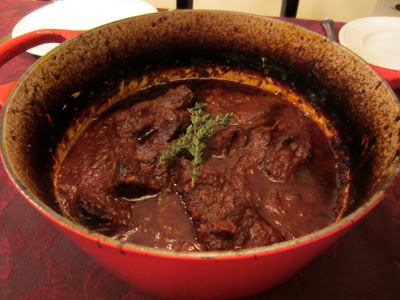
Bring to a boil, then reduce heat to a simmer. Allow the vegetables to simmer in the broth for 30-45 minutes until the squash is very tender.
(True confessions: In this batch I used a little too much broth and the soup turned out a little thin. In the next batch I just covered the vegetables and it turned out thicker. Learn from my mistakes, people.)
When all the veggies are cooked, turn off the heat and get out your handy-dandy immersion blender that your sweet daughter gave you for Christmas last year (I love this tool!). You could also use a regular blender, but it's a little messier process. Anyway, blend everything together until it's very smooth.
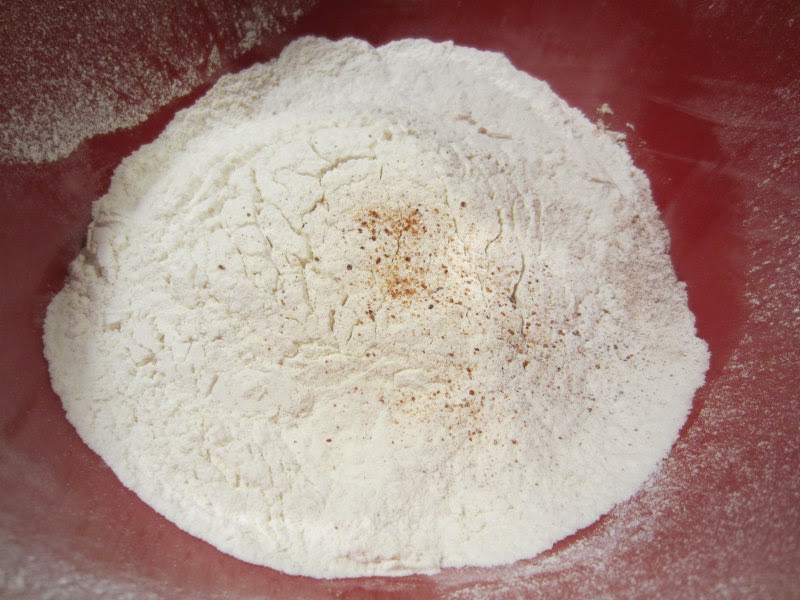
Now add the nutmeg, paprika, salt and pepper, cream, and butter. Mmmmmm.
Stir over low heat for another few minutes and you're done!
I like to sprinkle a few toasted pumpkin seeds over the top, but you could also use some homemade croutons, which would be yummy.
This will be on my Thanksgiving table this year. How about yours?
Leave me a comment and let me know what your favorite part of the Thanksgiving meal is. I'd love to hear from you!
Click here for a printable version of this recipe.
****
Like what you see here? Why not sign up for regular updates to your email box? You can sign up right over there -->. You can follow me on Facebook, Twitter, and Instagram, too.
Also, check out my Recipes page for lots more family-friendly, easy to make meal ideas. Enjoy!